

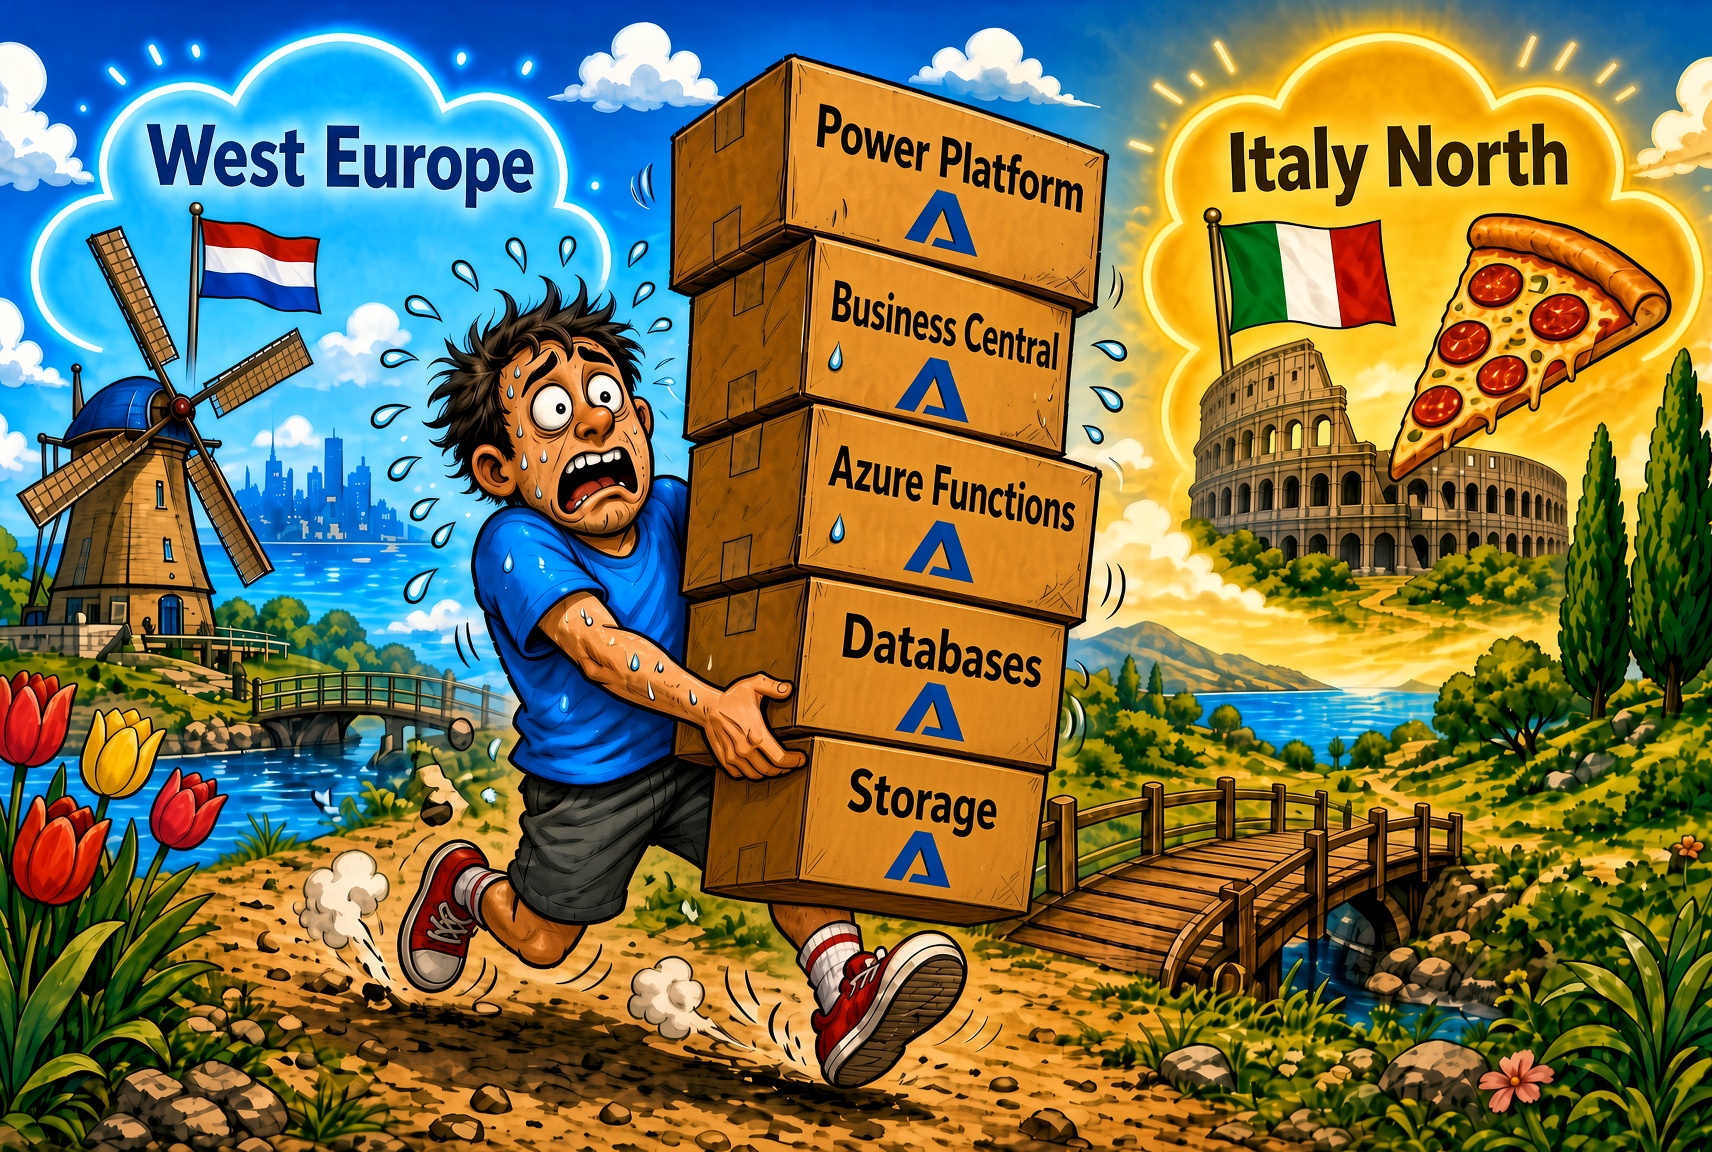
All the italian partners and customers are waiting (from quite a long time now) to have Dynamics 365 Business Central deployed on Italy North datacenters. This wil be a great benefit for Italian organizations that want to keep their data closer to home, meet local compliance requirements, and potentially improve performance.
The first Microsoft’s planned date was for January 2026, then Microsoft moved that date to a later time and we was close to announce the Italy North availability for our BC DAY IT event in May. But then another stop was planned… and now we’re still waiting for that.
We’re however quite close to the target and talking in these days with my partner in crime (you know the name😜) about that, he turned me the light to an important point of attention. Many of our Azure services connected to Dynamics 365 Business Central are actually deployed on the same Business Central Azure region, so for IT customers this usually means West Europe or North Europe. This choice was the natural choice to guarantee lowest possible latency between cloud services.
But when Microsoft will start move our IT customers to Italy North region, how can I also move those cloud services to the new Azure region?
First of all, we need to say that this is not mandatory: you can still have your Business Central environment moved to Italy North and using your existing services in West Europe without problems! Just to share some values, latency between Italy North and Western Europe is 22 ms (average), latency between North Europe and West Europe is 17 ms (average), so probably for 99.9% of your Business Central-related Azure services this will have very little impact.
But with the goal to have consistency and the best possible latency between services, I think that for many projects an Azure service migration to the new region will be something to consider.
This post (intentionally written in a check-list form) talks about moving from West Europe or North Europe to Italy North (target are IT customers) but generally speaking what is written here obviosuly applies for any situation like this.
Why Move to Italy North?
Before we dive into the “how,” let’s quicly talk about the “why.” Azure regions are physical locations where Microsoft operates data centers. When Business Central moves to Italy North, it means:
- Faster performance for Italian users (lower latency = quicker response times).
- Data residency in Italy (important for compliance with local regulations).
- Better cost predictability (no outbound traffic charges between regions).
- Legal and regulatory alignment (data stays where it’s supposed to).
What should I do if I want to plan a service migration to Italy North?
Azure doesn’t have a “move” button that relocates all your services to the new region (at least not for all Azure services). Instead, you’ll be creating new services in Italy North and migrating your data and configuration to them (think of it less like moving a house and more like building a new one with the same blueprint).
Here is a guideline/checklist of “things to do” that can be useful if you will need to do this Azure resource movement when Italy North will be available for your Business Central customers.
What you need before you start.
Gather these things:
- Access to your Azure subscription (Owner or Contributor role) AND Power Platform Admin Center.
- A list of everything that’s currently running:
- Azure resources:
- Function Apps (which ones, what they do).
- Logic Apps (workflow names, which services they connect to).
- SQL databases (names, sizes, backup strategy).
- Storage accounts (which containers/queues/tables matter).
- Application Insights (which apps/services it monitors).
- Azure OpenAI instances used for Business Central projects.
- Any other services (Key Vault, Service Bus, Log Analytics, etc.).
- Power Platform resources:
- Dataverse environments (production, sandbox, dev).
- Canvas apps (especially those not in solutions).
- Power Automate flows (especially cloud flows not in solutions).
- Custom connectors.
- Dynamics 365 apps.
- Azure resources:
- Retrieve current configuration details:
- Azure: Connection strings, API keys, environment variables, app settings, security rules.
- Power Platform: Enterprise policies, data policies, security roles, environment groups.
- Integration points: Which flows/apps connect to which Azure resources.
- Downtime tolerance: How long can you afford things to be unavailable? This helps you decide your cutover strategy.
- Migration timeline: Power Platform geo-to-geo migration takes at least 10 days from request to completion. Plan accordingly.
Coordinating Power Platform and Azure migrations.
Important: If you’re migrating both Azure resources AND Power Platform environments, plan the timing carefully:
- Power Platform migration must be requested to Microsoft 10+ days in advance (no self-service option).
- Azure services can be migrated anytime (no special requests needed).
- You might want to coordinate the cutover dates so users only experience one migration window.
Recommended approach:
- Request Power Platform geo-to-geo migration (if needed).
- While waiting for Power Platform approval, migrate your Azure services.
- Schedule both cutover windows close together (same day or week) so users experience minimal disruption.
- Test all connections between Power Platform and Azure after both migrations.
The migration strategy: choose your approach.
For Azure services, you have two main options for migration to a new region:
Option 1: “Parallel Run” (safest, but longer):
- Create new services in Italy North.
- Copy everything over and test thoroughly.
- Keep old services running while validating.
- Redirect users when you’re confident.
- Delete old services after a waiting period.
- Best for: Production environments, complex setups, organizations with zero-tolerance downtime.
Option 2: “Scheduled Maintenance Window”:
- Plan a maintenance window (e.g., weekend, off-hours).
- Create and prepare Italy North services beforehand.
- Execute migration during the window.
- Users experience brief downtime (1–2 hours).
- Best for: Most real-world scenarios.
I personally suggest option 1, for me always the more safe approach.
Step-by-Step migration for each Azure service connected to Business Central.
Here a list of most common Azure services (at least for me) that you can have connected to a Business Central environment and that you could have the need to move to the new Azure region.
Azure Application Insights:
This is the monitoring and diagnostics service that tracks Business Central telemetry but also your Function Apps, Logic Apps, and other services. It collects telemetry (errors, performance data, custom events) and stores it for analysis.
Transferring existing Application Insights resources between regions isn’t supported, and you can’t migrate historical data to a new region.
Step 1: Create a new Application Insights in Italy North:
- Go to Azure Portal → “Create a resource” → search “Application Insights”
- Fill in:
- Name: Something like
appinsights-italy-north - Resource group: Same as your other resources
- Location: Italy North
- Resource Mode: Workspace-based (recommended) or Classic
- Workspace-based: Historical data stays in Log Analytics workspace (you can query it after migration)
- Classic: Simpler setup, but historical data is lost when you delete the old instance
- Name: Something like
- Click Review + Create → Create
Step 2: Document customizations (if any):
Before creating the new resource, document everything from your old Application Insights:
- Custom dashboards – Take screenshots or export them (if you have)
- Alert rules – List all alerts and their conditions
- Data collection rules (telemetry filtering, if any).
These don’t automatically transfer, so you’ll need to recreate them in the new instance.
Step 3: Get the new connection string:
- Go to your new Application Insights resource
- Click Overview
- On the right side, find Connection String
- Click the copy icon to copy it
- Format:
InstrumentationKey=YOUR-KEY;IngestionEndpoint=https://italynorth.in.applicationinsights.azure.com/;LiveEndpoint=https://italynorth.livediagnostics.monitor.azure.com/
- Format:
Step 4: Update the connection string in your Business Central environment
You need to update the connection string in every Business Central environment that’s connected to Application Insights for telemetry.
Step 5: recreate the data collection rules (if any) and the alerts in the new instance.
Azure Storage accounts:
This is the blob storage service where your files, documents, and data live.
Step 1: Create a new Storage Account in Italy North:
- Go to Azure Portal
- Click “Create a resource” → search for “Storage account”
- Fill in the form:
- Resource group: Create a new one or pick an existing one
- Storage account name: Something like
mystorageitalynorth(must be globally unique) - Region: Select Italy North
- Performance: Standard (unless you have specific needs)
- Redundancy: Locally-redundant storage (LRS) is fine for Italy North; choose Geo-redundant (GRS) if you want a backup in another region
- Click Review + Create → Create
Step 2: Copy your data:
You have two options:
Option A: using Azure Storage Explorer (Easy, Visual)
- Download Azure Storage Explorer
- Connect to your old storage account → your new storage account
- Right-click containers/blobs → copy to the new account
- Best for: Small to medium data volumes
Option B: using AzCopy (fast, for large volumes)
- Download AzCopy
- Run this command (you may need connection strings or access keys)
- Best for: Large data, automated processes
azcopy copy "https://oldstorageaccount.blob.core.windows.net/container/*" "https://newstorageitalynorth.blob.core.windows.net/container/" --recursive
Step 3: Update connection strings:
Update the existing connection string that you can have in Business Central to point to the new storage account.
If this storage is used in Azure Function and Logic Apps, in your Function Apps and Logic Apps app update the storage connection strings to point to the new storage account.
Azure Function Apps:
This is the serverless service that runs your code on a schedule or when triggered (API calls, messages, events).
Step 1: Prepare your code:
You need to get your current Function App code:
Option A: if you have it in Git (best practice)
- It’s already in GitHub/Azure Repos? Great! You can redeploy from there via Deployment Center (my personal preferred approach always).
Option B: download from Azure Portal
- Go to your Function App → Deployment Center
- Look for “Local Git” or “Download ZIP”
- Download your code
Step 2: Create a new Function App in Italy North:
Using the Azure Portal:
- Click “Create a resource” → search “Function App”
- Fill in the form:
- Resource group: Same as your other resources (for organization)
- Function App name: Something like
myfunctionapp-italy - Publish: Code (or Containers, if you’re using Docker)
- Runtime stack: Same as your current app (e.g., .NET, Node.js, Python)
- Version: Same version number as your current app
- Region: Italy North
- Storage account: Select/create the new storage account
- Operating system: Windows or Linux, depending on your requirements.
- Click through the remaining options (monitoring, etc.) and click Create
Step 3: Deploy Your Code:
Once the Function App is created:
- Go to Deployment Center
- Connect your Git repository (GitHub, Azure Repos, etc.) OR
- Upload your code using Visual Studio Code or the Portal
The new Function App will automatically build and deploy your code.
Step 4: Configure settings and connections:
- Go to Settings → Environment variables (or Configuration → Application settings)
- Copy over all the settings from your old Function App:
AzureWebJobsStorage(should already point to new storage)SQLDB_ConnectionString(update to new SQL server)- Any other custom settings
- Click Save
Step 5: Test your functions:
- Go to Functions in your new app
- Click on each function → Code + Test
- Run a test to make sure everything works
- Check the Monitor section to see if there are any errors
Azure Logic Apps:
You can have automated workflows (or AI agent orchestrations) in Azure Logic Apps that connect different services with Business Central.
Step 1: Export your workflow definition:
- Go to your current Logic App
- Click the “Code View” button (or “Export” if available)
- Copy the entire JSON code
- Save it to a text file (you’ll need this)
Step 2: Create a new Logic App in Italy North:
- Click “Create a resource” → search “Logic App”
- Fill in:
- Name: Something like
mylogicapp-italy - Region: Italy North
- Plan: Consumption (unless you need Standard)
- Name: Something like
- Click Create
Step 3: Recreate your workflow:
- Once created, click “Edit” (or open the designer)
- Click “Code View”
- Paste the JSON code from Step 1
- Click Save
Note: The workflow structure should be the same, but you’ll need to update any connection references (see next step).
Step 4: Reconnect external services:
Logic Apps connect to external services (Office 365, SQL, Dynamics 365, etc.). These connections need to be re-authorized:
- Go through each action in your Logic App
- For any red error indicators, click on that action
- Sign in or re-select the connection
- Click Save
This is the part that requires a bit more hands-on attention, as each connection type is slightly different.
Step 5: Test your Logic App workflow:
- Manually trigger the Logic App (if it has a manual trigger button) OR
- Let it run on its schedule and monitor the Runs history
- Check for any failures and fix them
Azure SQL Database:
In many Dynamics 365 Business Central projects you could have some Azure SQL databases used for integration between systems (WMS, MES, B2B etc.).
If you’re on this scenario, Azure has a built-in Resource Mover service that simplifies moving some resources between regions and Azure SQL is one of ther supported resources.
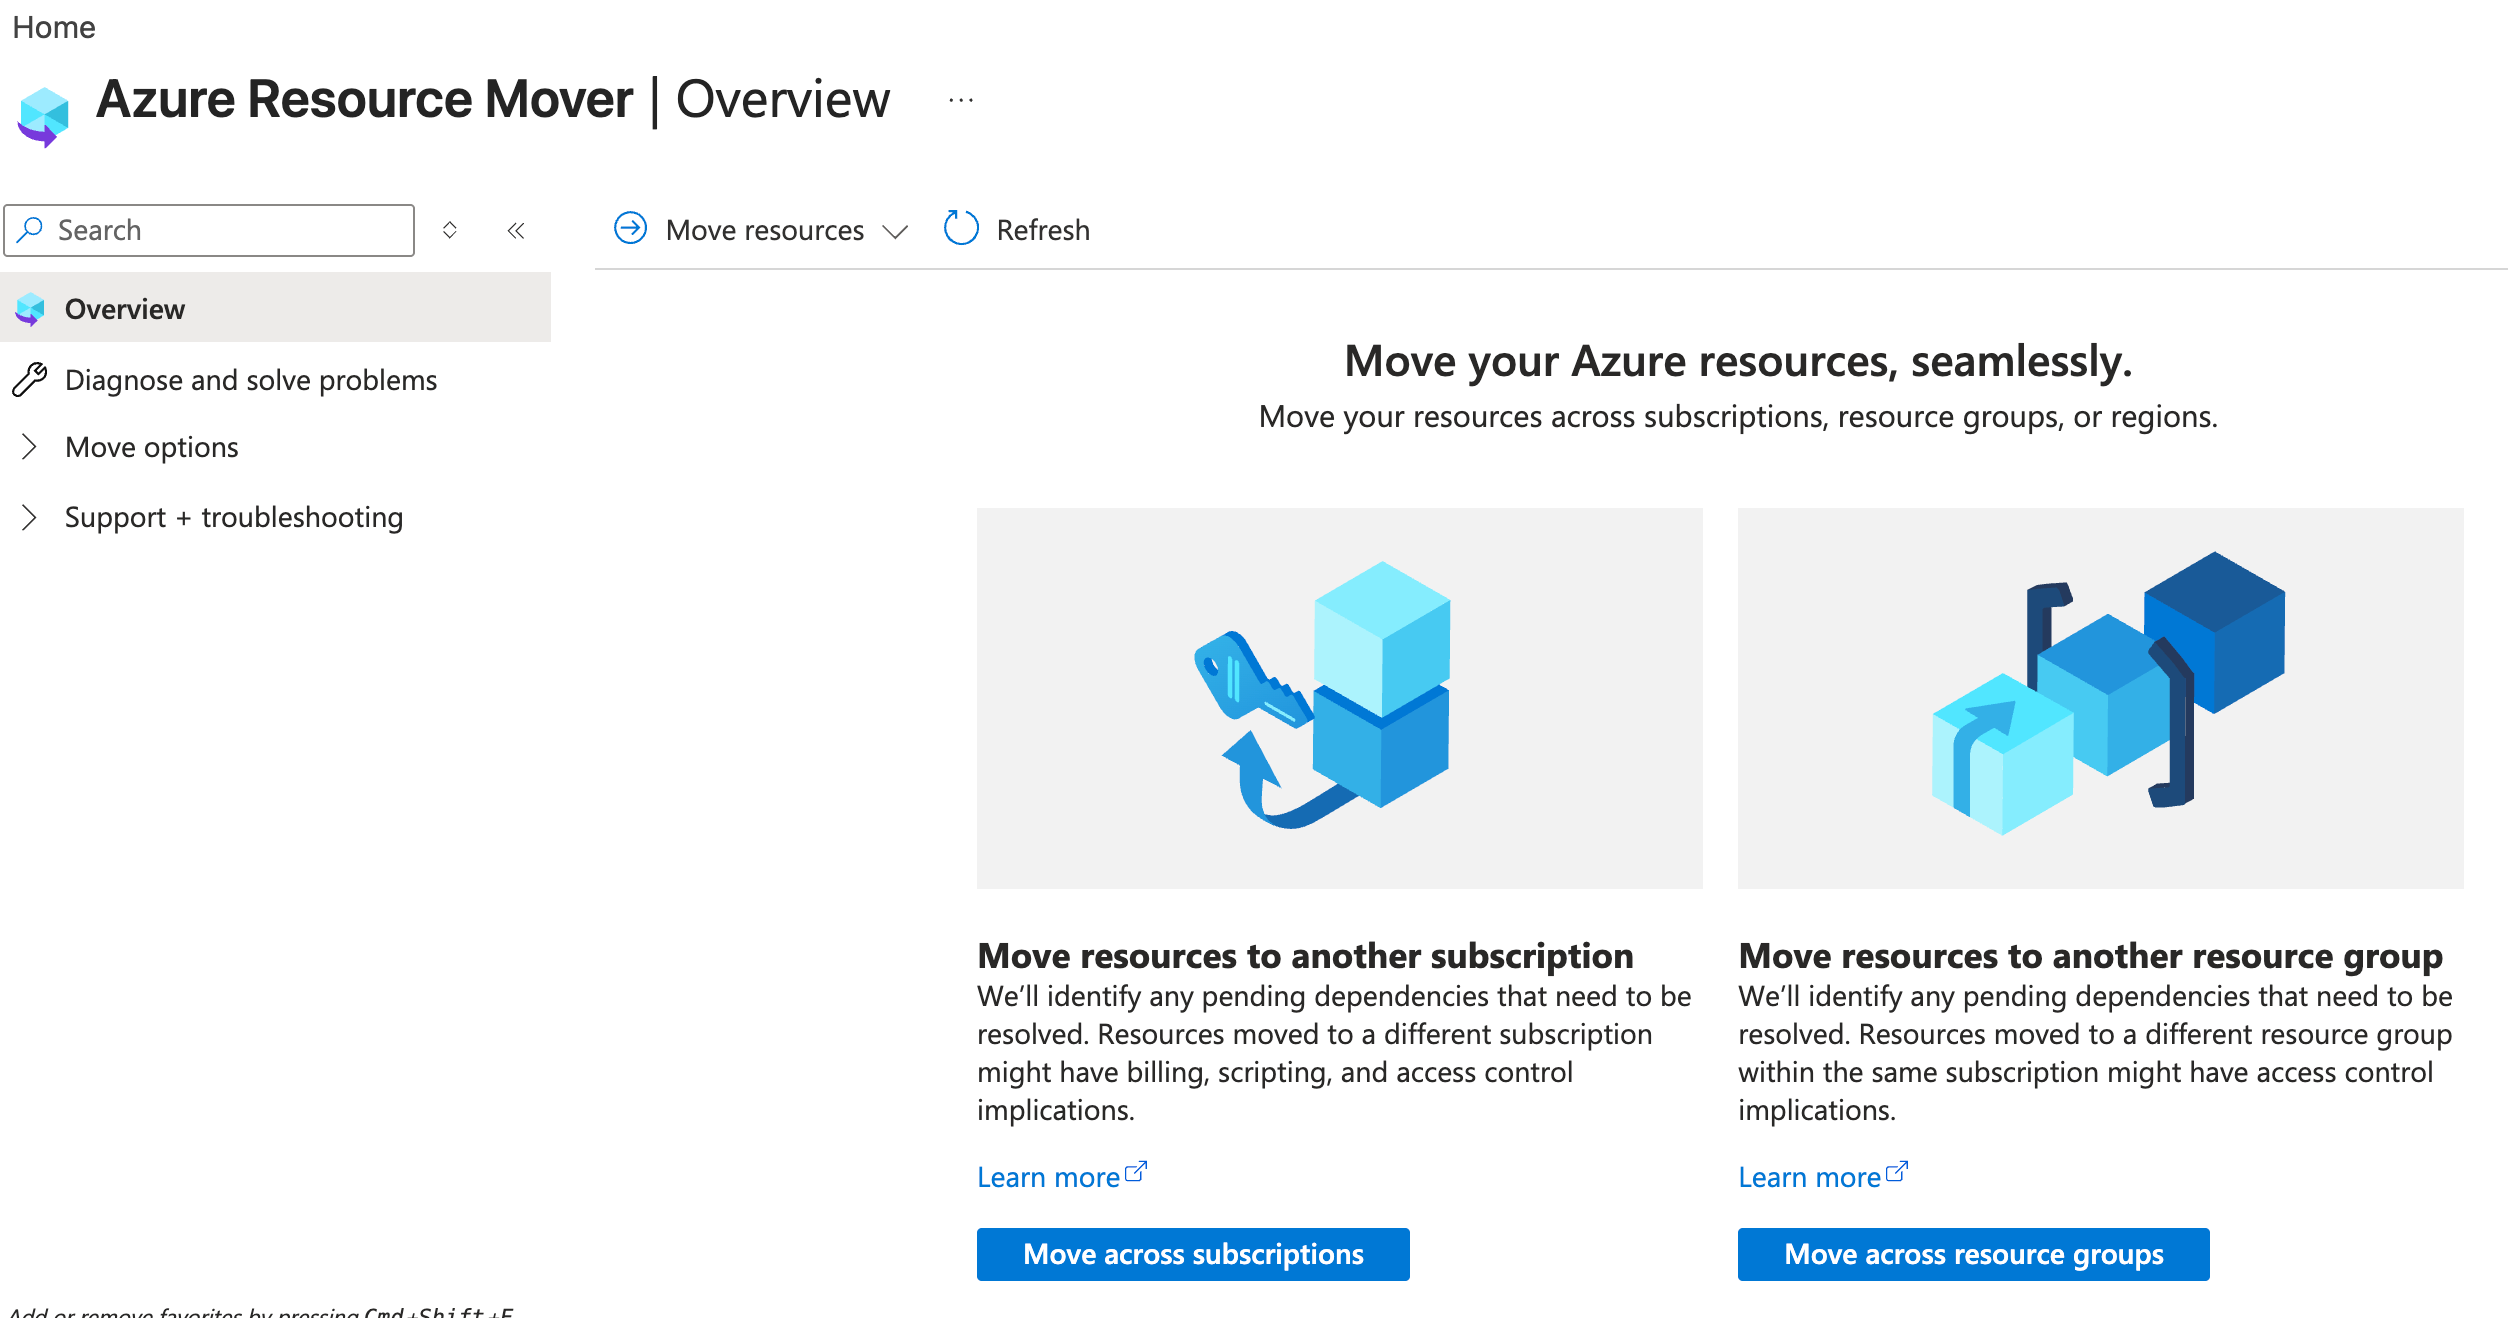
For SQL Database, this can be a great option if you meet these conditions:
- You have simple SQL databases with no complex dependencies
- You prefer a guided, UI-based process
- Your target region already has availability (Italy North support may vary by resource type)
If you want to use Resource Mover:
- Go to Azure Portal → search “Resource Mover”
- Select your SQL databases
- Follow the wizard to move them to Italy North
However, if you prefer more control, you can always follow the manual steps below.
Step 1: Create a new SQL Server in Italy North:
- Go to Azure Portal → “Create a resource” → search “SQL Database”
- Fill in the form:
- Database name: Same as your current one (e.g.,
BCDB) - Server: Click “Create new”
- Server name: Something like
sqlserver-italy-north - Location: Italy North
- Admin login: Your username
- Password: Strong password (save this!)
- Server name: Something like
- Compute + storage: Choose the same size/tier as your current database
- Database name: Same as your current one (e.g.,
- Click through the remaining options (security, networking) – you can use defaults for now
- Click Review + Create → Create
Step 2: Backup and Restore your existing database:
Option A: Using the Azure Portal (recommended for most users)
- Go to your old database → Backups section
- Click “Download backup” (this creates a BACPAC file)
- Wait for the download to complete
- Go to your new database → Import
- Upload the BACPAC file
- Click “Import” and wait (this can take 10–30 minutes depending on size)
Option B: Using Azure Data Studio or SQL Server Management Studio
- Connect to both databases
- Use “Schema + data” transfer wizard
- Or use native SQL Server backup/restore methods
Azure OpenAI instances:
It’s not possible to switch the region of Azure OpenAI or move Azure OpenAI to another region with one click.
Instead, you must:
- Check model availability:
- Not all models are available in all regions.
- Italy North being new may have limited model availability initially.
- Verify which models are supported there before migration.
- Create a new Azure OpenAI instance in Italy North:
- Similar to Application Insights, you create a fresh instance.
- Deploy the same models (GPT-4, GPT-3.5-turbo, etc.) in the new region.
- Update your connection strings and API endpoints:
- In Business Central AI configuration (if you’re using Chat Completions from AL).
- In Logic Apps/Function Apps that call Azure OpenAI (if any).
- In any custom AI integrations (if any).
And what about Power Platform environments?
Unlike the Azure services above, you cannot self-serve migrate a Power Platform environment across regions. This requires a “Geo-to-Geo Migration” request through Microsoft Support because:
- Environment IDs, organization URLs, and database references change during migration.
- Many administrative settings need to be reconfigured (enterprise policies, data policies, etc.).
- Power Apps and Power Automate flows outside of solutions won’t migrate properly.
- Microsoft manages the actual data movement between their datacenters.
Step 1: Prepare your environment
Before requesting the migration, you need to prepare your environment and this means doing the following:
- Export all your existing solutions:
- Go to Power Platform Admin Center → Environments → Your Environment
- Click Solutions → for each solution, click Export
- Save these locally (as
.zipfiles) - This protects your apps, flows, and customizations
- Document everything that might not migrate:
- Canvas apps (not in solutions)
- Power Automate cloud flows (not in solutions)
- Custom connectors
- Environment settings and security roles
- Data policies and enterprise policies you’ve configured
- Currency allocations
- Environment groups
- Create a manual backup (optional but recommended):
- Go to Backup + Restore in Power Platform Admin Center
- Click Create manual backup
- This gives you a safety net if something goes wrong (though backups can only be restored to the same region)
- Test your apps and flows:
- Make sure everything is working before you migrate
- Broken flows now will still be broken after migration
Step 2: Request the Geo-to-Geo migration:
- Go to Power Platform Admin Center → Help + Support
- Click New Support Request
- Provide details:
- Environment name you want to migrate
- Current region: West Europe (or whichever you’re in)
- Target region: Italy North
- Business reason: “Moving to Italy North region for Business Central deployment” or similar
- Microsoft will review your request and confirm feasibility
- You’ll get a scheduled migration window (typically a specific date/time)
When Microsoft performs the migration:
- Your environment will be unavailable during the migration (usually 30 mins–2 hours)
- The URL of your environment will change (e.g., from
crm4.dynamics.comto a new datacenter identifier) - All data is copied to the Italy North datacenter
- Environment ID changes to a new globally unique identifier
Timeline expectations:
- Request to approval: 2–3 days
- Scheduling: 5–7 days out
- Actual migration: ~1 hour
- Total elapsed time: usually at least 10 days
Step 4: Post-Migration Reconfiguration
After the migration completes, you’ll need to manually reconfigure things that weren’t migrated:
- Reconnect external integrations:
- If you have Power Automate flows connecting to Azure services, update connection references
- Reconnect to Office 365, SQL Database, or other external systems
- Your new environment URL must be updated anywhere it’s referenced (Logic Apps, Azure Functions, etc.)
- Recreate enterprise policies (if you had them):
- Virtual Network policies
- Customer-managed encryption keys
- Digital Process Advisor restrictions
- Reapply data policies:
- DLP (Data Loss Prevention) rules
- Environment-specific restrictions
- Restore environment groups (if you had them):
- Readd the environment to any environment groups
- Restore Pay-as-You-Go (if enabled):
- Reconfigure if you were using pay-as-you-go
- Recreate any canvas apps not in solutions:
- Unfortunately, these won’t migrate automatically
- You’ll need to recreate them manually or import from a backup
- Power Automate flows not in solutions also need recreation
- Update your Business Central connection:
- If Business Central connects to Power Automate or canvas apps, update the environment reference
- Ensure all B2B integrations point to the new Italy North environment
Components that DO migrate:
- ✅ Dataverse tables and data
- ✅ Model-driven apps (in solutions)
- ✅ Power Automate flows (in solutions)
- ✅ Custom connectors (in solutions)
- ✅ Business process flows
- ✅ Views, forms, and charts
Components that DON’T migrate (or are problematic):
- ❌ Canvas apps (not in solutions)
- ❌ Power Automate flows (not in solutions)
- ❌ Connections to external services (need re-authorization)
- ❌ Enterprise policies
- ❌ Data policies / DLP rules
- ❌ Environment groups
- ❌ Lockbox requests (if you had these)
- ❌ Pay-as-you-go billing
- ❌ Currency allocations
Tips to avoid migration headaches:
- Start putting everything in solutions NOW:
- Before you even request the migration, get your apps and flows into managed/unmanaged solutions
- This ensures they migrate successfully
- Document your configuration:
- Take screenshots of all security roles, enterprise policies, and settings
- Create a checklist of what needs reconfiguration post-migration
- Schedule the migration carefully:
- Request migration during a quiet business period
- Have your team available for post-migration testing and fixes
- Test immediately after:
- Don’t assume everything works
- Run through critical user journeys
- Check all Power Automate flows
- Verify connections to external services
Unlike Azure, Power Platform doesn’t have a huge cost for migration itself, but:
- You can’t run parallel environments (old + new) during migration like you can with Azure.
- Once you request migration, you’re committed to a specific date.
- There’s no “dry run” option (what you see is what you get).
What about cost considerations?
During your migration, you’ll temporarily have resources in two regions, which means you’ll pay for both during the parallel-run phase. For many services this cost is not relevant, but for others it could have an impact. Here’s how to estimate:
- Azure Function App: ~$0 if you are under 1 million requests per month
- Logic App: ~$0.5–2/execution (Consumption), or fixed monthly (Standard)
- SQL Database: $10–300+/month (depends on tier)
- Storage Account: ~$0.02–0.05/GB/month
Strategy to minimize costs:
- Run parallel environment for as short a time as possible (hours to 1–2 days).
- Turn off unnecessary services during testing.
Once you’re fully on Italy North, you can delete the old resources and save money.
Common Questions
Q: Do I need downtime?
A: Yes, for Power Platform (Microsoft handles geo-to-geo migration). For Azure services, you can minimize downtime with parallel-run.
Q: What if something breaks?
A: For Azure services, keep your old environment running for a few days (you can switch back quickly). For Power Platform, you can’t easily rollback, so extensive testing post-migration is critical.
Q: Can I automate this migration?
A: For Azure: Yes, partially. ARM templates or Bicep can recreate infrastructure. Data migration still requires manual sync (AzCopy, backup/restore). For Power Platform: No. Geo-to-geo migration must be requested through Microsoft Support. Components outside solutions need manual recreation.
Q: What about security and backups?
A: For Azure: Mirror backups and security policies in the new region. Configure Azure Backup for Italy North. For Power Platform: Backups can only be restored to the same region, so they won’t help for cross-region migration. Export all solutions before migration.
Q: Will this affect my Business Central users?
A: Yes—expect 30 mins–2 hours downtime during Power Platform migration. Plan this during off-hours if possible. For other Azure services, it depends on the approach you decide to use (you can have zero downtime if you keep old and new service running during the move).
Q: Do I need to update Business Central configuration?
A: Probably yes. Update:
- Application Insights connecgtion string for telemetry of your environment.
- Azure resource connection strings.
- Power Platform environment references.
- Logic Apps and Power Automate integration endpoints.
- API connections between services.
Q: What happens to my Power Platform apps and flows that aren’t in solutions?
A: They won’t migrate automatically. You’ll need to:
- Manually recreate canvas apps.
- Manually recreate cloud flows.
- Or import from a backup if you have a pre-migration export.
This is why it’s critical to put everything in solutions before requesting geo-to-geo migration.
Q: Does Power Platform geo-to-geo migration work for all environment types?
A: Mostly. Some restrictions:
- ✅ Supported: Production, Sandbox, Developer environments.
- ❌ Not supported: Trial, default environments.
- Some advanced features (like Dynamics 365 Customer Insights) may have additional restrictions.
Final Thoughts:
Moving to Italy North is straightforward once you break it down into these manageable steps, especially when you coordinate both Azure and Power Platform migrations together. The key is:
- Plan ahead, especially if you need to move Power Platform environments (10+ day lead time)
- Test thoroughly, particularly after Power Platform migration (non-solution components need manual recreation)
- Keep backup plans: for Azure you can roll back; for Power Platform, prevention is better
Remember: you’re not deleting anything until you’re confident the new environment is working perfectly. Take your time, and don’t hesitate to reach out to Microsoft Support if you hit any roadblocks (they’re always helpful).
Good luck with your migration! But don’t remember what I said at the beginning of the post: do that only if you really need it! 😉

 Stefano Demiliani