


In my session at Ignite Tour Milan in January I’ve talked (with a real demo too) about how to use Deployment slots when you need to deploy a web application in the cloud and you have the need to separate the production environment from a “testing” environment or a “preview” environment (for scenarios where you want that only some users can use the preview version of your application).
I’ve received the following question from some attendees: we’re using Azure Function for our customers in Dynamics 365 Business Central SaaS. Can we use deployment slots also for Azure Functions? The answer is YES and I’ve promised a more detaild explanation here. Now it’s the time 🙂
In an Azure Cloud service, Deployment slots permits you to have different isolated environments for your application and you can easily swap between environments with just few clicks. For example, you can have a production slot where your released production application is running and then you can have a staging slot where your “under development” version of the application is released.
Deployment slots for App Service are quite common when you’re working with web apps on Azure, but what about Azure Functions? Yes, Azure Function support deployment slot features too and you should use this feature.
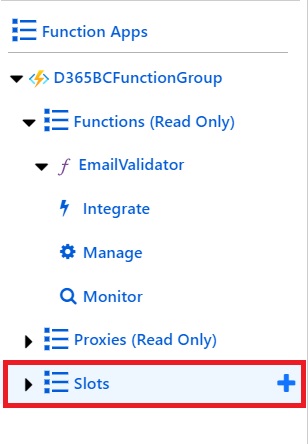
To create a new deployment slot for an Azure Function, go to the Azure Portal, select your Function’s app and under Slots click the + button to add a new slot:
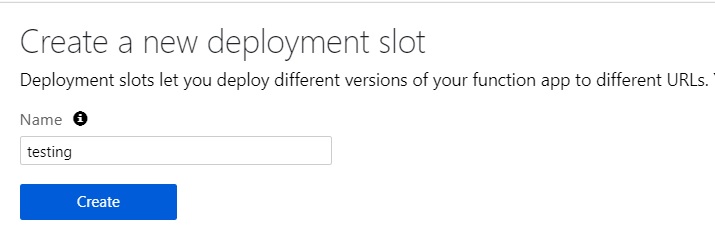
In the Create a new deployment slot window, select a name for your slot and click Create:
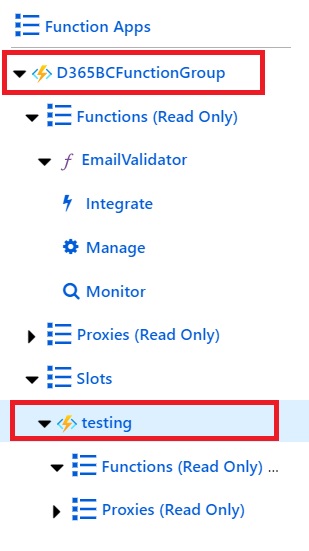
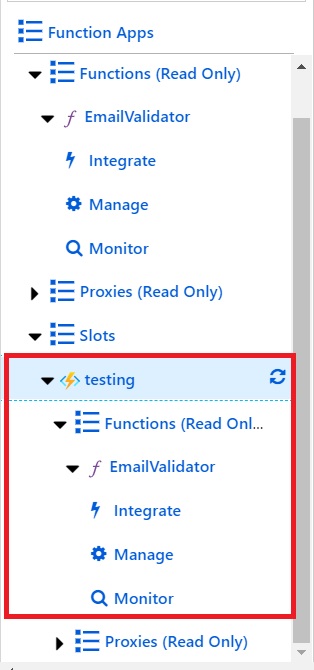
Here I’ve created a slot called testing because I want a new endpoint (slot) for deploying a new preview version of my Azure Function without affecting the stable production environment. Now the deployment of your slot starts and when finished you will have a new slot created (here called testing). As you can see, we have now two slots: the production slot (the first red box in the below image) and the testing slot (second red box):
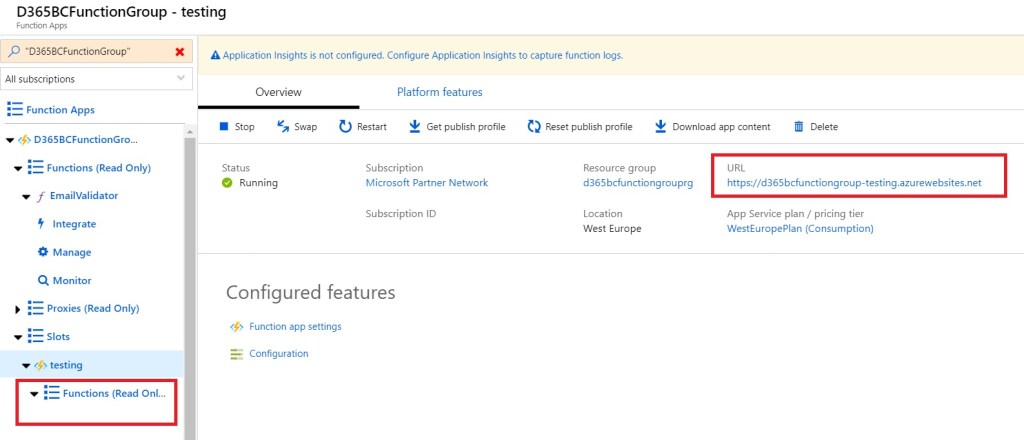
As you can see in the above image, the testing slot has its own url and no functions deployed on it yet:
You need now to deploy your Azure Function to the testing slot. We can directly perform this task from Visual Studio (where we have our Azure Function preview version to deploy in the cloud). Right click the solution and select Publish. In the Publish window, click on New to create a new publishing profile and from the Pick a publish target page select the Select Existing option for your App Service plan:

You can now search for your existing App Service instances where to deploy your function and you can now also select the available slots:
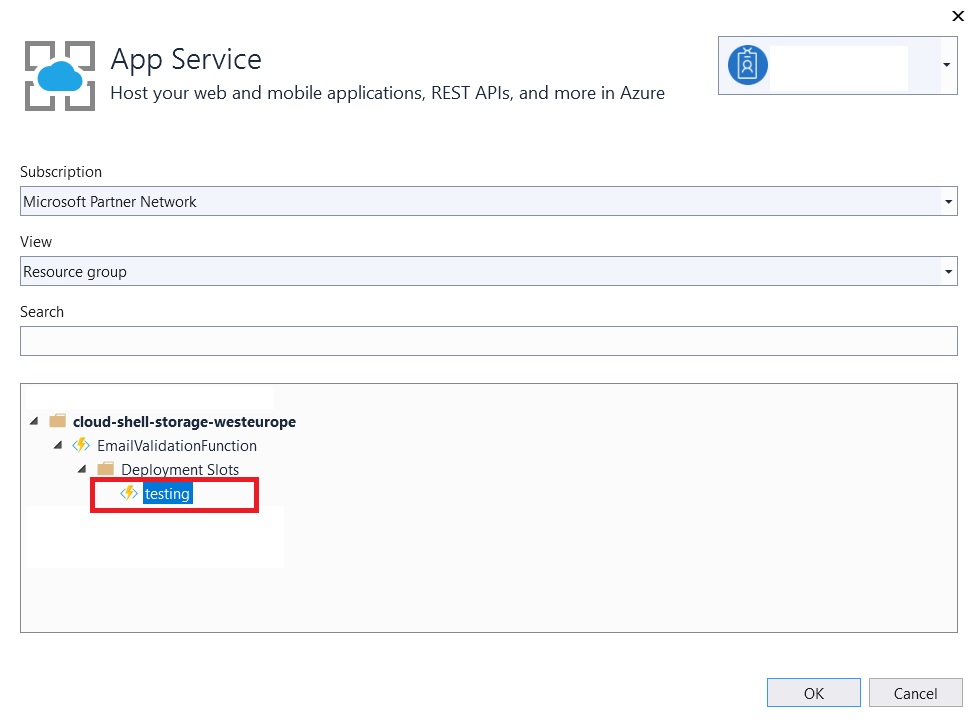
By selecting the desired slot (here I select testing), clicking OK and then Publish, your Azure Function is deployed to the newly created slot:
and the new codebase responds to the testing slot url (new endpoint). In this way, you can have a set of your customers that tests the new function implementation while all the other customers continues to use the production endpoint. Two different versions of your Azure Function are now live in the cloud.
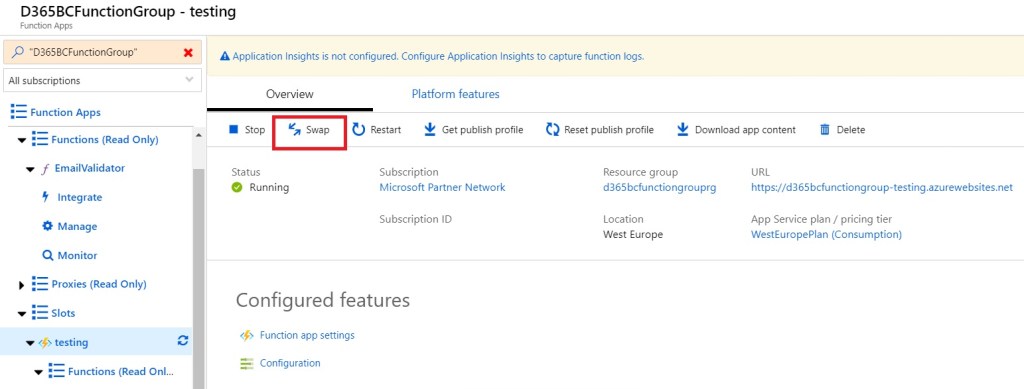
When your tesing is finished and you are ready to push the new Azure Function version to all the customer’s base, you can simply swap the testing slot into the production slot. This can be done by clicking the Swap action in the Azure Portal:
This will swap the Source instance to the Target instance:
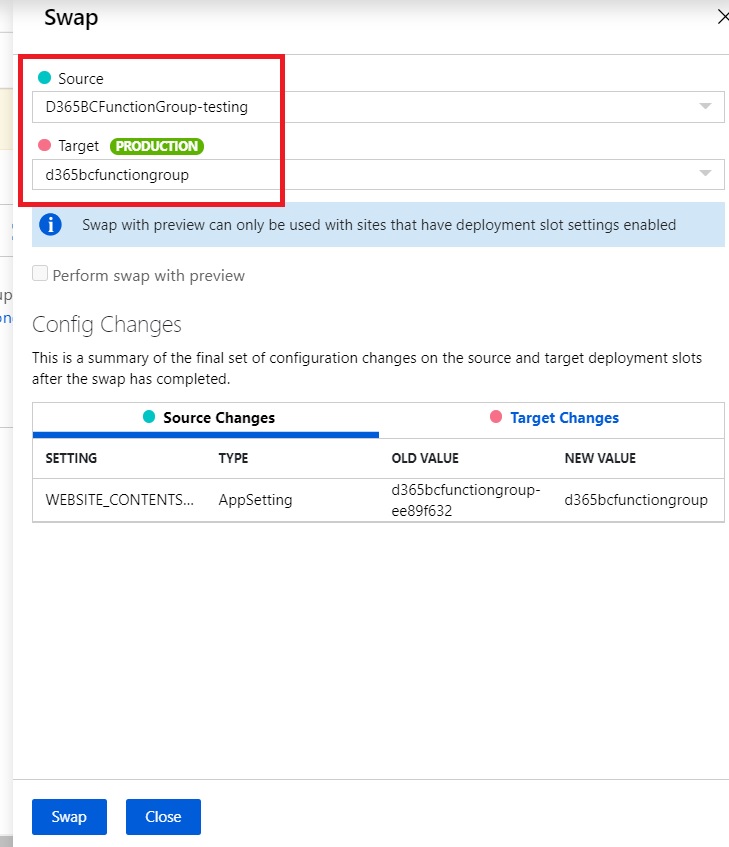
Remember that if you have different settings between slots, you need to check if also settings must be swapped or not. If you want to perform a rollback, just swap again the slots.
This is a recommended best practice to adopt if you work with Azure Functions for Dynamics 365 Business Central. You should never change the function’s code directly in the production instance without testing, because this could affect all your customers. Working with slots can help you on having a more reliable solution.
